
Blog Updates, and Reactions powered by Neon Postgres + Vercel
Table of Contents
Introduction
It’s been quite some time since my last post on my personal website, but I recently dedicated a weekend to revamping it. Here’s a brief summary of the changes I made:
- Migration from Hugo to Astro, a web framework similar to Next.js.
- Introduction of reaction buttons at the end of each blog post.
The transition from Hugo to Astro went smoothly, primarily because Astro provides excellent support for Markdown, which I had been using for my blog. In this article, I’ll share my experience with the transition process and delve into the steps I took to implement the blog reaction buttons.
The Blog Framework — Astro
When deciding on a framework for my new personal website, Astro stood out for two primary reasons. Firstly, I wanted to explore a full-stack web application framework in JavaScript / TypeScript, and Astro provided the perfect opportunity to do so. Secondly, Astro’s blog template offered easy customization options and comprehensive RSS support, which was crucial for my blogging needs.
Fun fact: A hidden facet of my expertise that often goes unnoticed — I have been involved in web development for 9 years since my initial PHP project in 2014, apart from my more recent Rust + database background. The PHP project was a Codeforces-style online judge for internal use.Project Setup
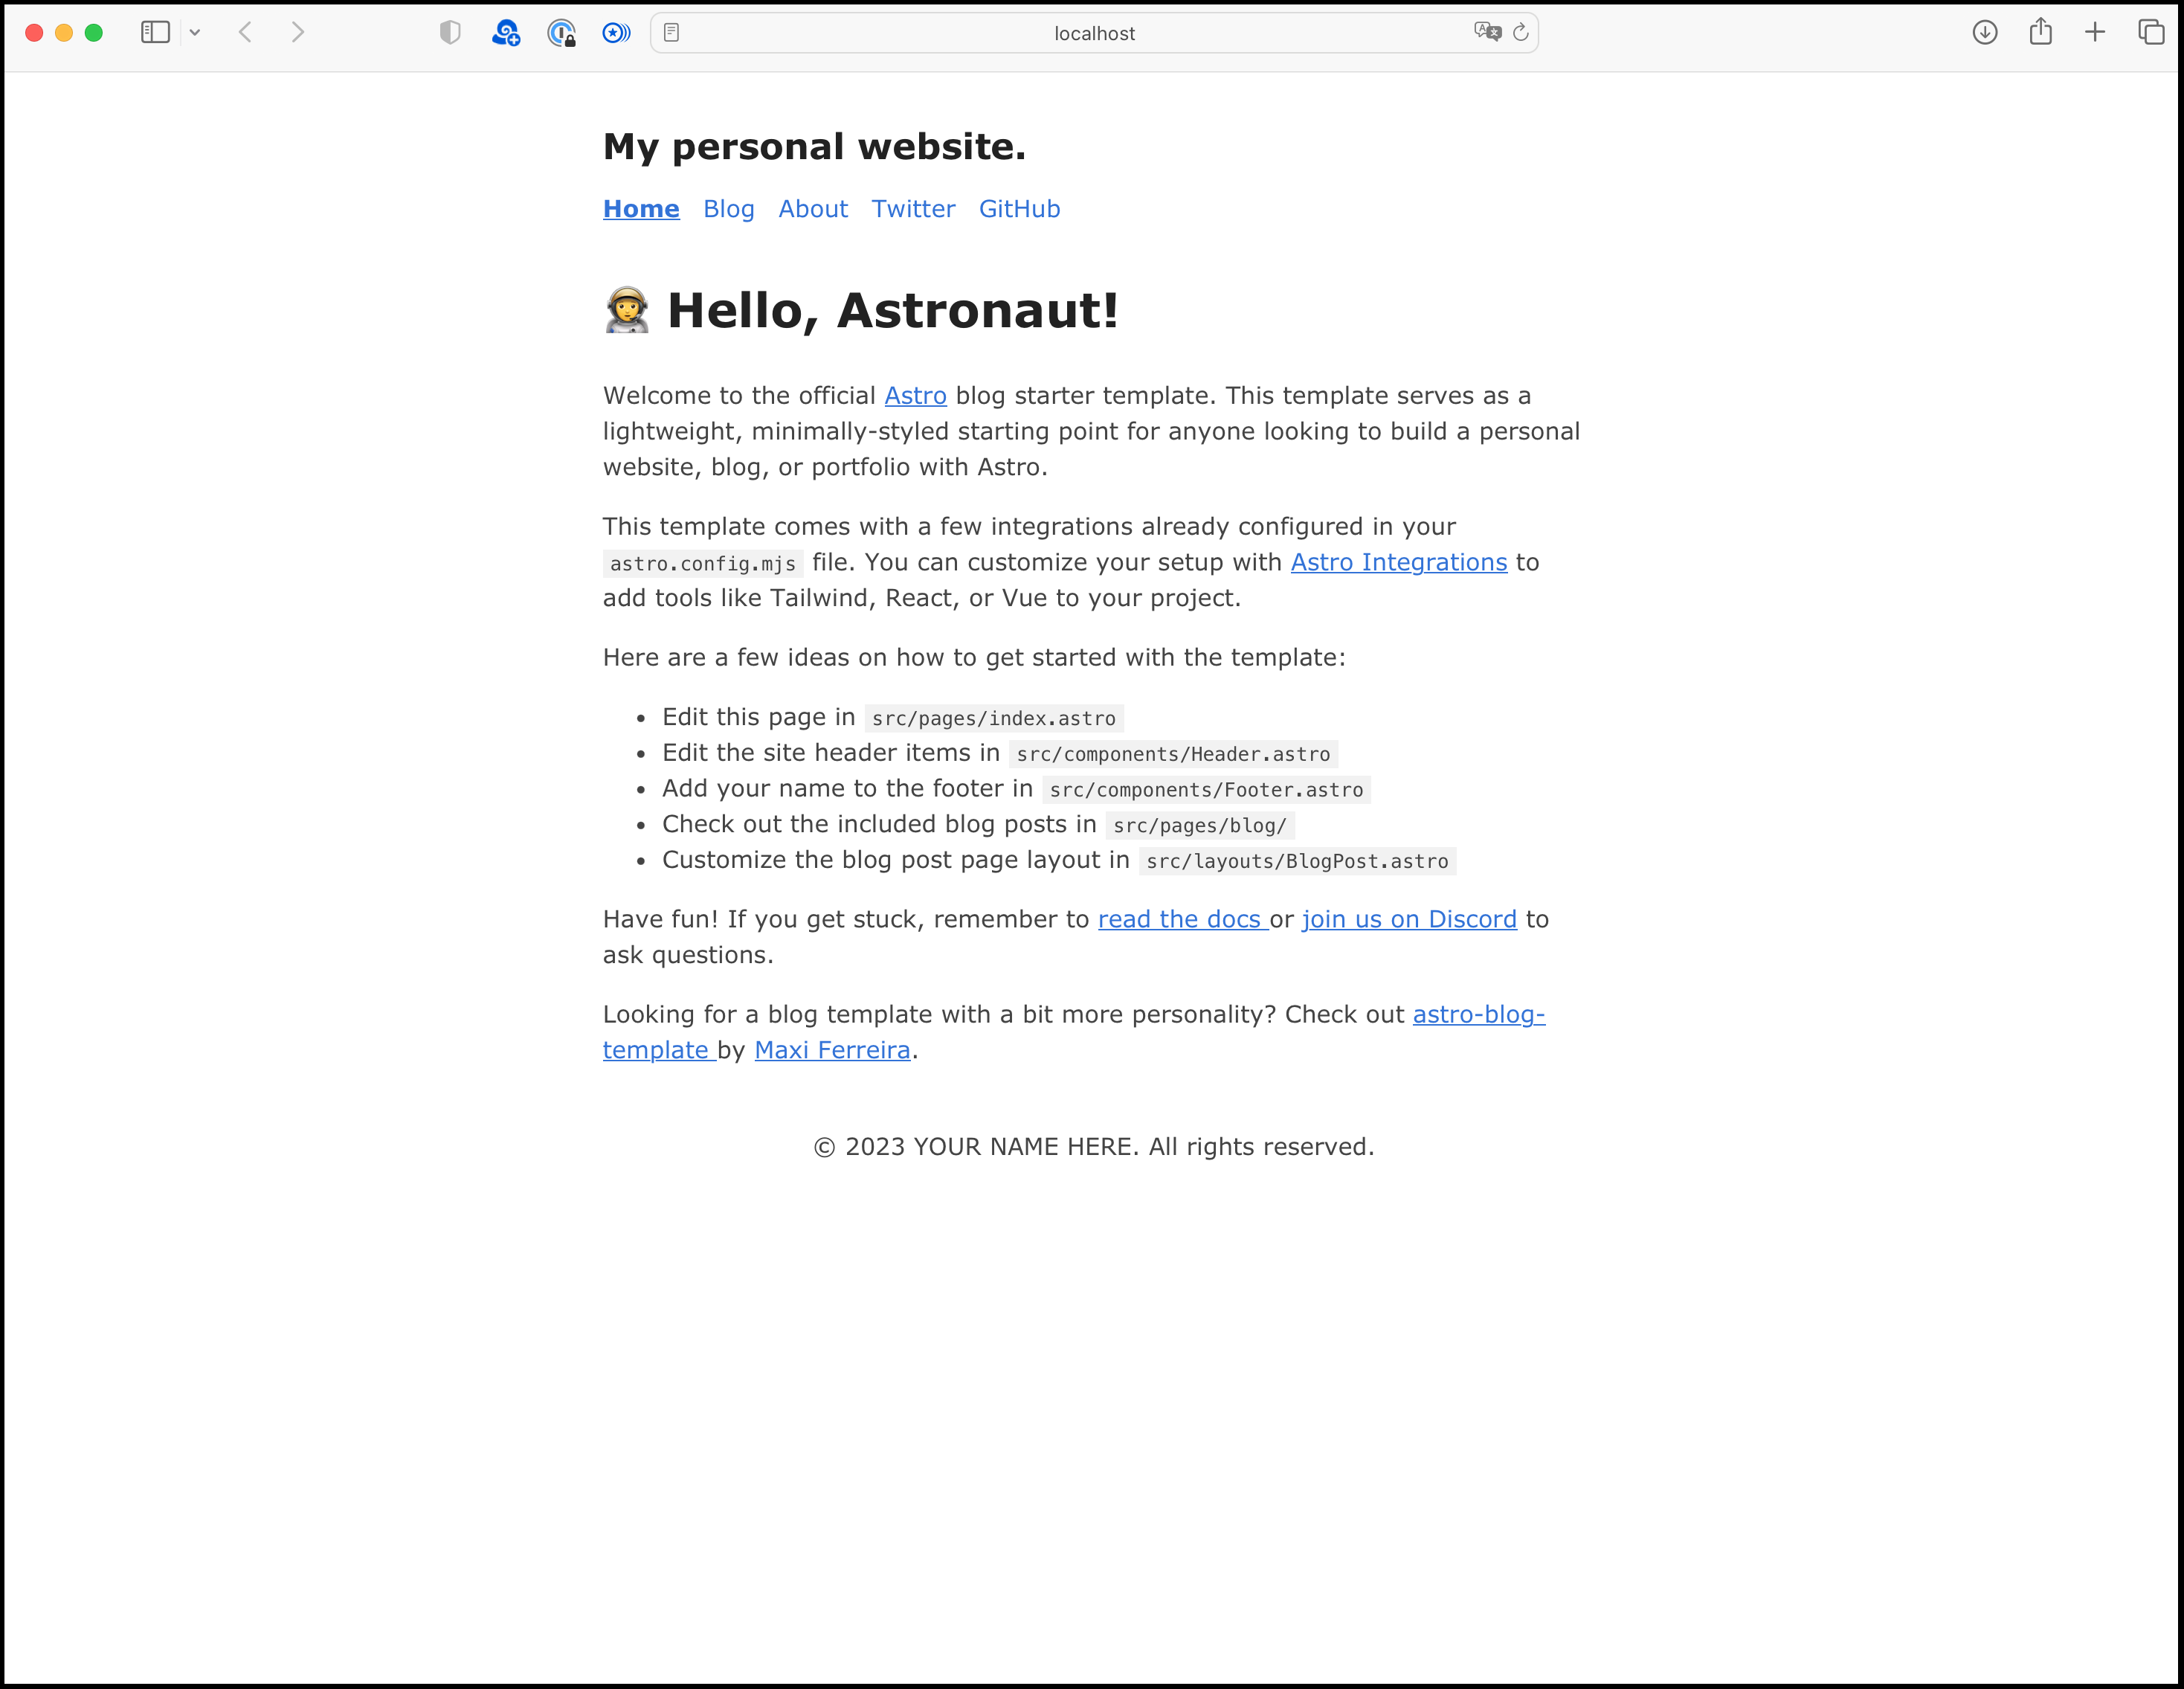
I started my project using the npm create astro command with the minimum blog template.
npm create astro@latest -- --template blogAfter a 30-second setup wizard, I got the website running locally:
Migrating Markdown Files and Assets
Thanks to Astro’s native support for Markdown, transferring my previous blog content to the new blog was a breeze. I simply had to copy and paste all the markdown files from my previous blog into the new Astro setup. However, there was a slight issue. I was using TOML front-matters while Astro only supports YAML ones. I had to make some minor modifications to the front-matter to make it work.
As for image assets, Astro offers a handy extension called @astrojs/image, which automatically compresses and optimizes all images on the website. However, my website doesn’t contain heavy image assets, and I decided to take a different approach that I placed them directly into the public directory. This way, the directory layout is structured as follows:
skyzh.dev
|-public
  |-blog
    |-2023-07-09-blog-update
      |-image.png
|-src
  |-content
    |-blog
      |-2023-07-09-blog-update.md
Additionally, Astro introduces a special format known as mdx, which combines the simplicity of Markdown with the flexibility of JavaScript / TypeScript. This feature allows me to effortlessly embed dynamic content within my blog posts. For example,
<fieldset style={{ "border": "1px solid", "padding": "1em" }}>
  <legend>Reaction Testing</legend>
  <Reaction slug="test" client:load />
</fieldset>
⬆️ Introducing the latest addition to my personal website—the reactions feature! Now, you can express your feelings about any of the blog posts by simply clicking the emoji button. Feel free to click it multiple times if you want to convey varying levels of reaction. The entire process is completely anonymous. In the following section, I will provide a detailed overview of how I implemented this new feature.
Redirects
After completing the migration, I realized that the URLs for all my blog posts had changed. To ensure that users who
still access my website using the old URLs don’t encounter 404 errors, I needed to set up redirects. Fortunately, Astro
offers a redirects configuration option in the astro.config.mjs file.
I wanted to redirect all requests from /posts/articles/* to /blog/*, but Astro’s redirects feature doesn’t support
wildcard redirects in static rendering mode. It requires server-side rendering support, which I didn’t want to enable
for my website.
To overcome this limitation, I configured Astro to generate a redirect page for each of my blog posts at the old URL. This way, when a user tries to access a blog post through the old URL, they will be automatically redirected to the corresponding new URL. You can find the [source code] for this redirect setup here.
Reactions
One exciting feature I’ve been diligently working on for my new personal website is the integration of reactions within my blog posts. Thanks to the powerful combination of Neon and Vercel, I can implement this functionality in a serverless manner, eliminating the need to manage any databases on my own cloud server.
Neon Postgres offers a fully-managed Postgres service (which is the company I’m currently working for… 🤪). Leveraging this service, I can seamlessly incorporate reactions into my blog without the hassle of setting up and maintaining my own database infrastructure.
Furthermore, I have been using Vercel for deploying my website for the past 2 years. Now, with the introduction of Vercel Edge Functions, I can set up APIs on my website to retrieve and update reactions data. Both Neon and Vercel provide generous FREE tiers, enabling me to build and implement this feature without paying a dollar.
API Design, and Deploying to Vercel Edge Functions
I built two Vercel Edge Functions for the Reactions API:
GET /api/reactions/get?slug=2023-07-09-blog-update
POST /api/reactions/add
As the name suggests, the get API is used to get the reaction counts for a specific blog post, and the add API is
used to add a reaction to a specific blog post. The slug parameter is the unique identifier for each blog post.
[source code]
Neon Postgres and Serverless Driver
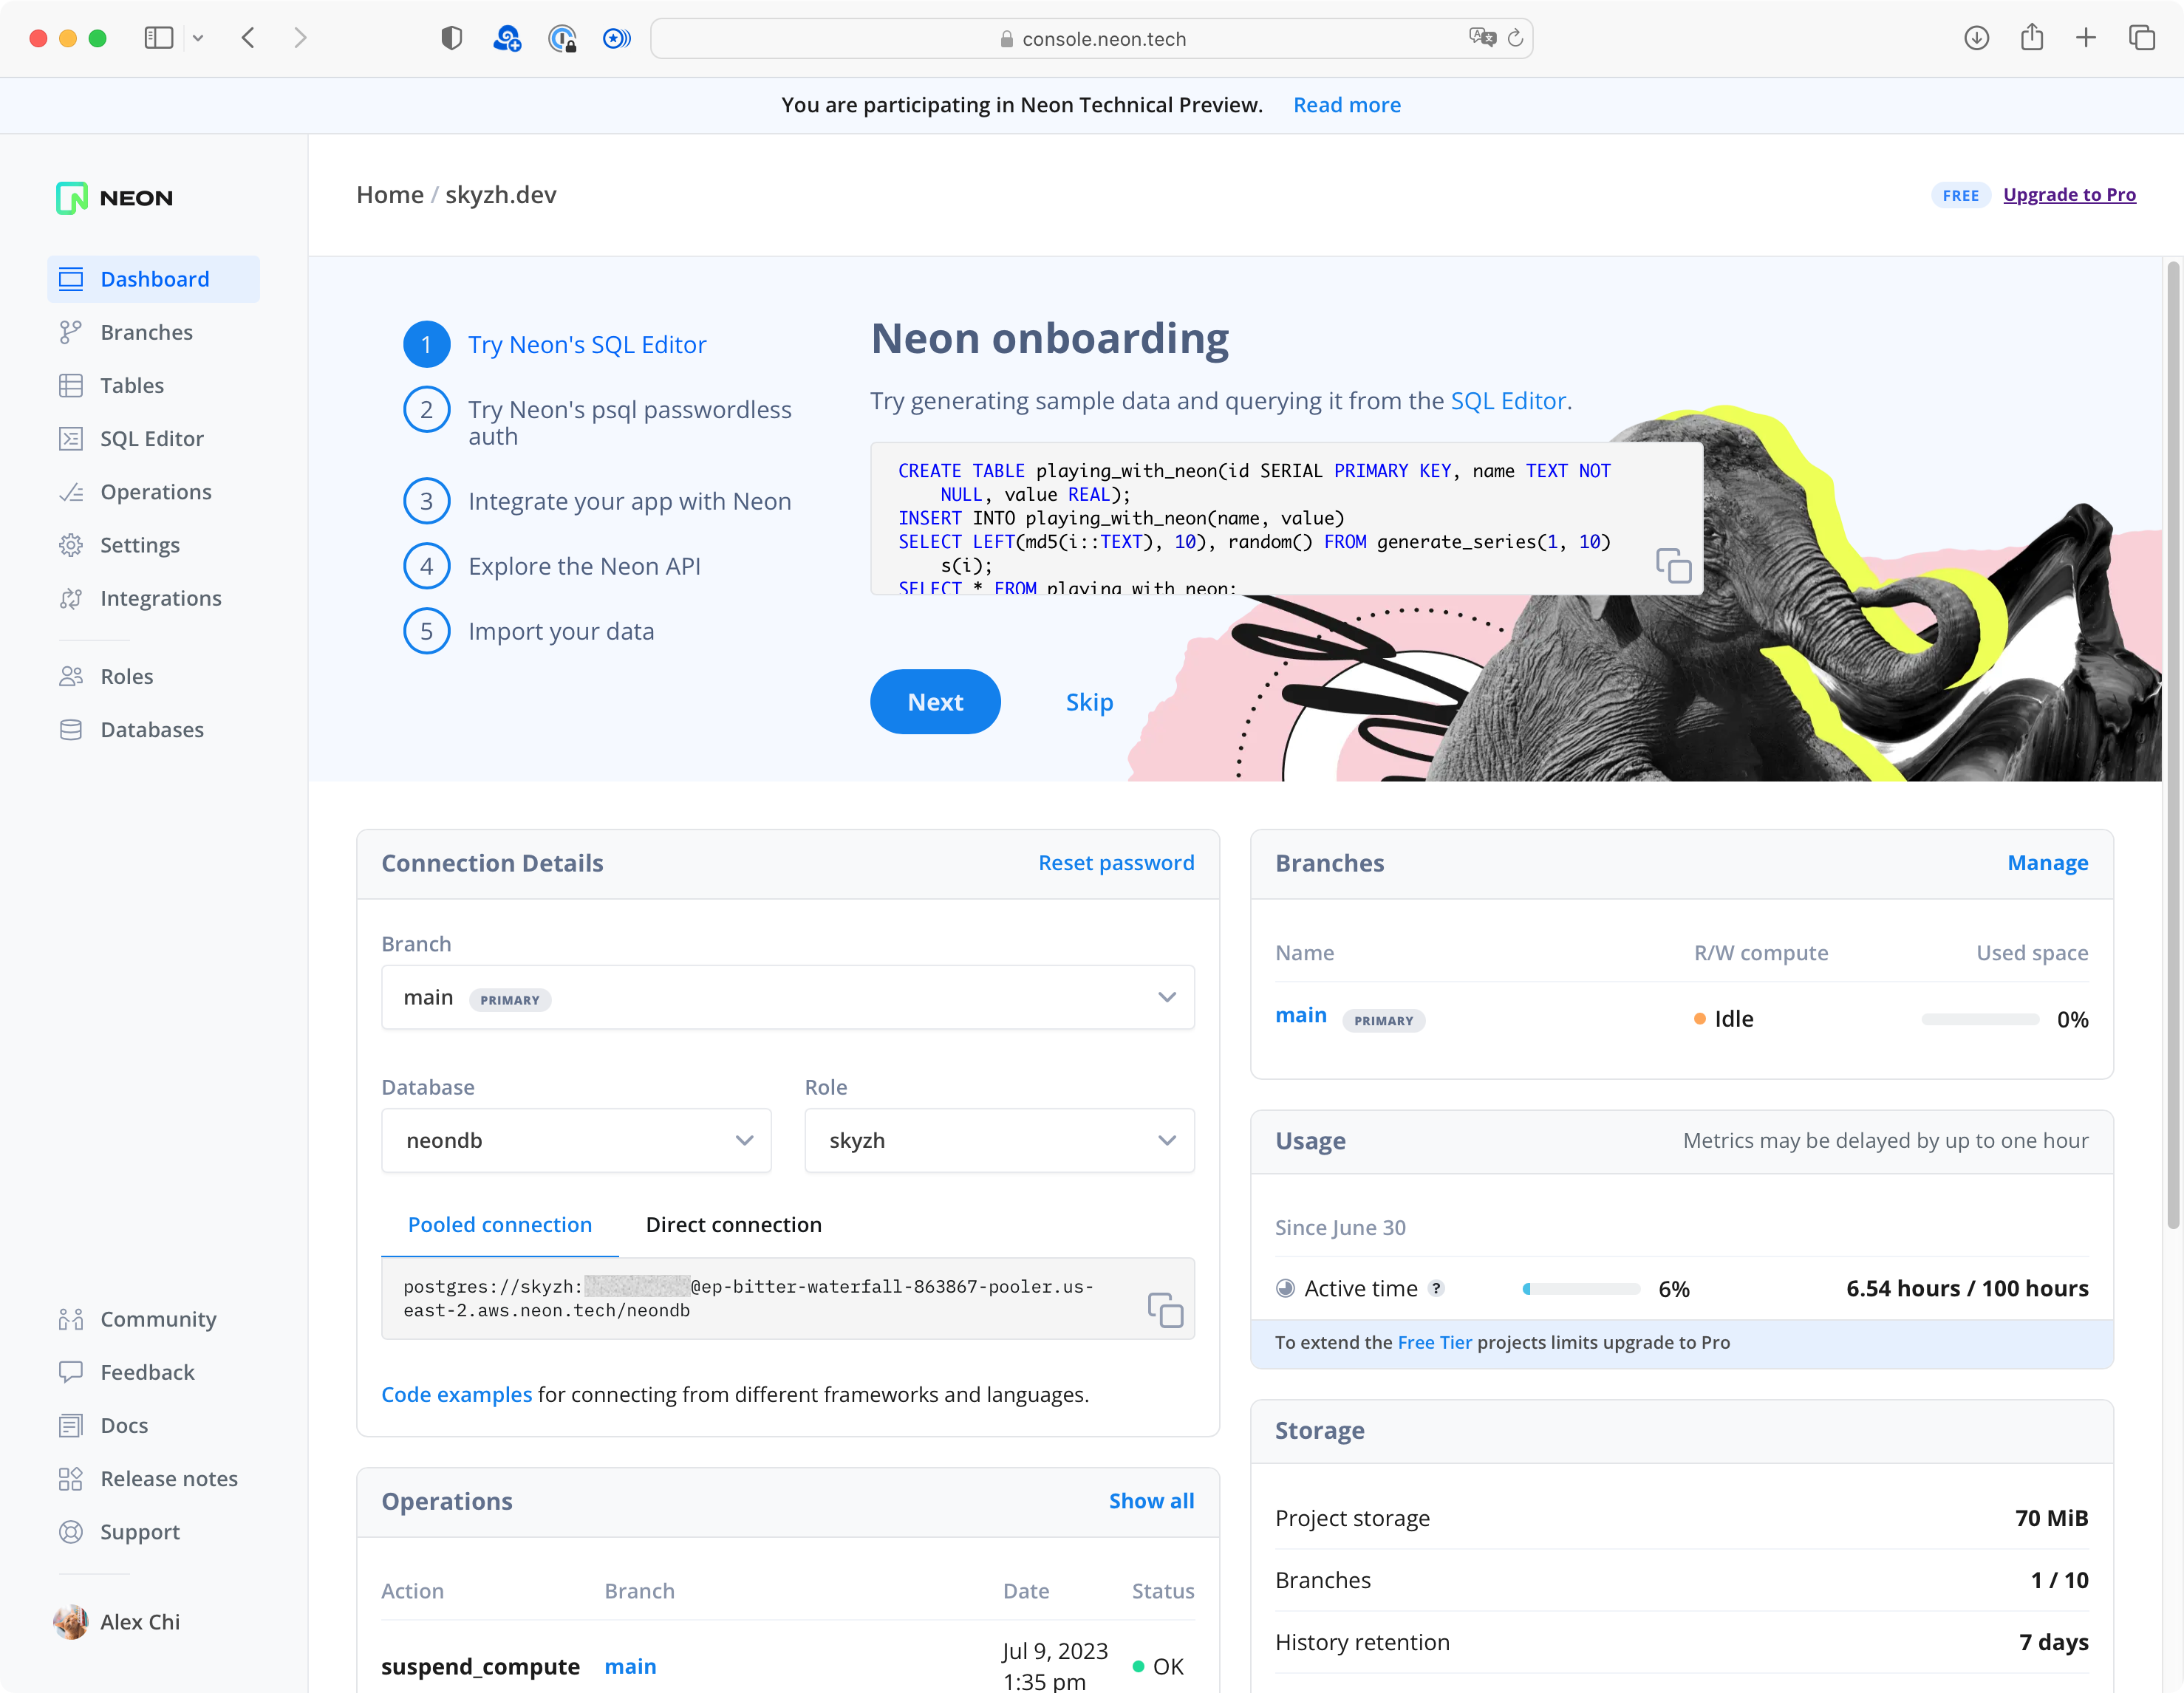
To store the reaction data for my blog posts, I opted to utilize Neon Postgres. Setting it up is super easy. I simply created a new project and obtained the Postgres connection string directly from the Neon console. The process takes only a matter of seconds.
Since Vercel Edge Functions operate on a lightweight JavaScript runtime, establishing a direct TCP connection to Postgres isn’t feasible. It only supports HTTP / WebSocket. Therefore, I incorporated the Neon Serverless Driver to connect to Neon, which establishes a WebSocket connection to the Postgres WebSocket proxy hosted by Neon.
The Neon Serverless Driver acts as a drop-in replacement for the pg package, making it compatible with existing
Postgres libraries. For instance, I’m utilizing the Kysely library for constructing queries. Here’s an example of the
code structure:
import { Pool } from '@neondatabase/serverless';

// ...

const pool = new Pool({ connectionString: process.env.DATABASE_URL });
const db = new Kysely<DB>({ dialect: new PostgresDialect({ pool }) });


const query = db
  .selectFrom('reaction')
  .selectAll()
  .where('name', '=', slug)

const reactions = await query.executeTakeFirst();

// ...
The only difference between server-side code on Vercel
and client-side code running locally is that
the server-side code uses the @neondatabase/serverless package instead of pg. Therefore, it is easy to share code
between the serverless Edge Functions and the local scripts.
import pg from 'pg';
const { Pool } = pg;

// Do the same thing as above...
Populating Data
I designed the database schema to store reactions as follows:
CREATE TABLE reaction (
    slug varchar(255) NOT NULL PRIMARY KEY,
    emoji_1 INT DEFAULT 0,
    emoji_2 INT DEFAULT 0,
    emoji_3 INT DEFAULT 0,
    emoji_4 INT DEFAULT 0,
);
One blog post has exactly one row in the reaction table. Each column represents the number of reactions for a specific
emoji. The rows need to be pre-created before the website is deployed. I wrote a script to populate the data from the
list of existing blog posts in the src/content/blog directory. A JSON file containing all blog posts in the website
will be generated at posts.json when the
website is built. The populate reaction script
will read this file and populate the data to the database. Users are only allowed to modify existing rows instead of adding new ones
through the Vercel Edge Function.
Client-Side Rendering
Lastly, I need to render the reaction buttons on the client-side. This is done by React on the client (web browser side). To enable client-side rendering support for Astro, I need to install the client-side rendering support:
npx astro add reactWith React integrated, I was able to write client-side React code as I normally would. This included fetching the reaction data from the API endpoint and updating it when users interacted with the reaction buttons. You can find the source code for the reaction component here.
The reaction component is used within the blog post layout, ensuring that it appears on every blog post page.
Conclusion
And there you have it, the new beginning of my personal website! I hope you enjoyed reading this article, and you can click on the below ⬇️ reaction buttons to share your instant feedbacks. As usual, I have created a GitHub Discussion for this article, and you can leave your comments there.